Thanks for the blessing of the bucket tool.
This week I changed my drawing procedure. I can now finish color illustrations with backgrounds faster than before.
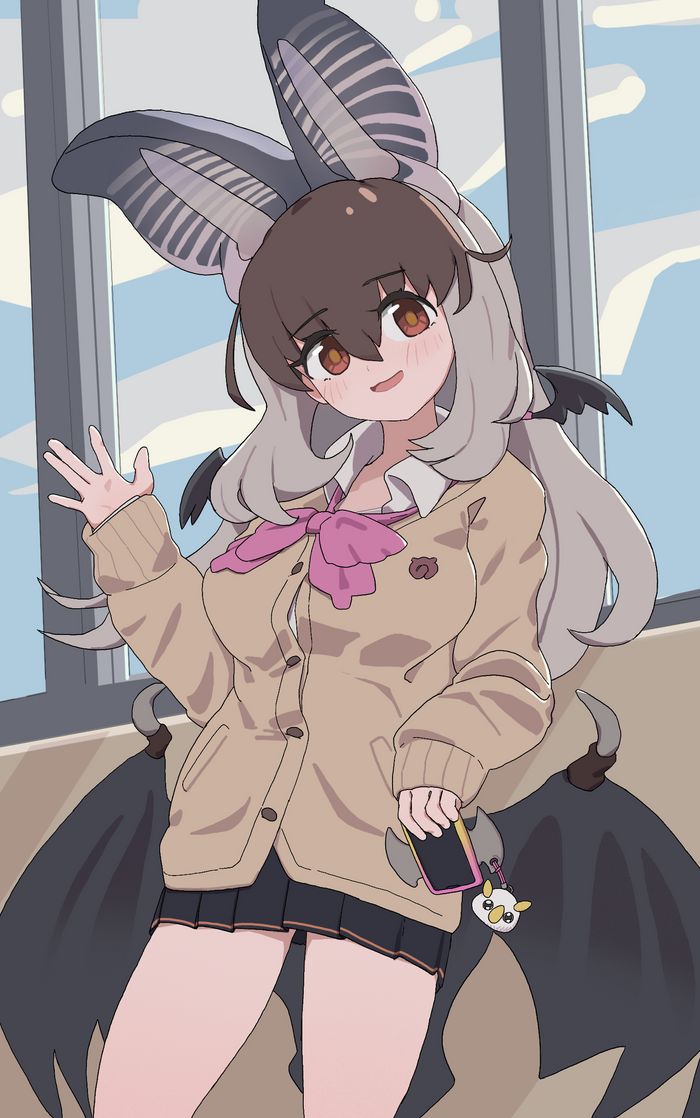
I always post fan art, and this drawing was started in the morning using the new procedure and completed by the evening. It may be that I was able to draw it faster because it has fewer parts and decorations, but it used to take me a whole day from rough sketch to line drawing and half a day for color, even for a drawing of the same. So I can now draw at least half a day faster. I want to use this momentum to digest the list of things I want to draw more and more.
To speed up the process, I adopted the bucket tool for color painting. It may sound like a common practice in digital painting, but my line drawing was not suitable for the bucket tool, so I will talk about how I corrected it. I will summarize other speed-up efforts as well as line drawings for the bucket tool. The drawing software I use is Procreate.
Line drawings for the bucket tool
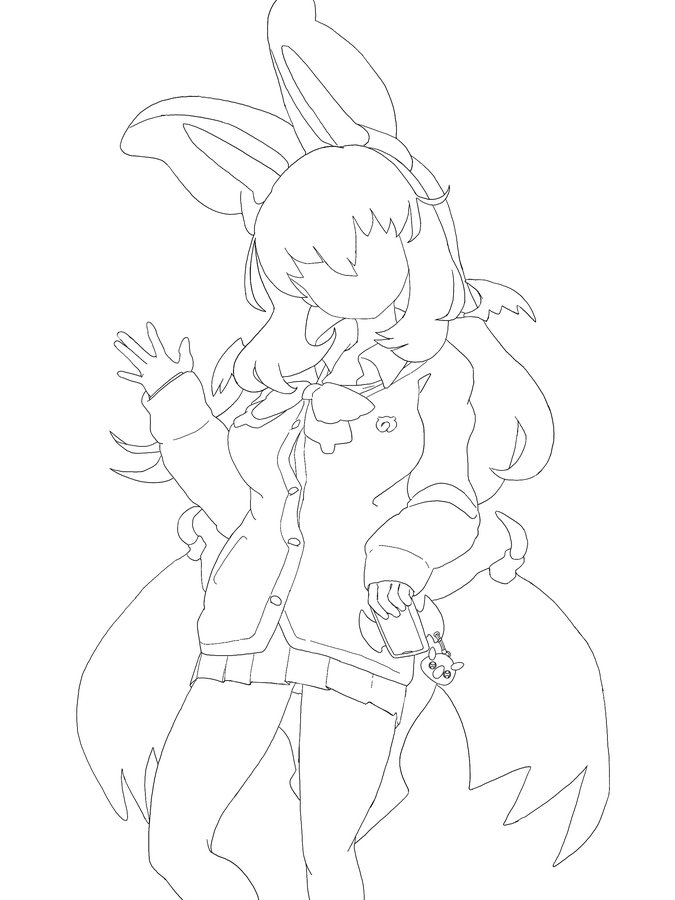
I corrected the line drawing to close the lines thoroughly for bucket tool. Once I have done this, I can then set the line drawing as the reference layer and fill all of colors with bucket tool.
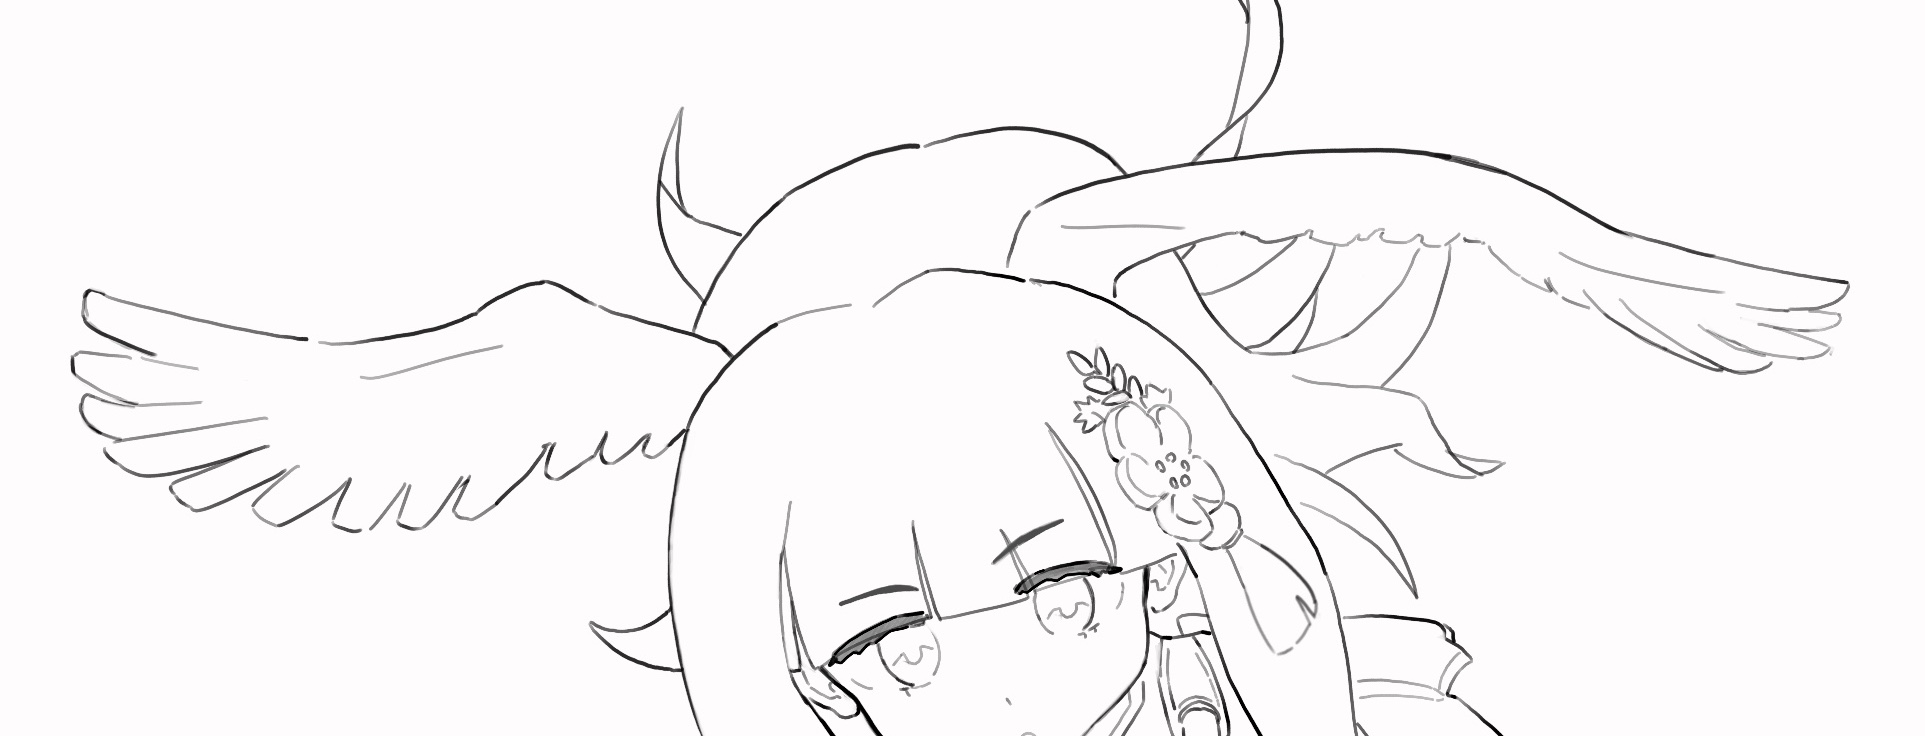


The previous line drawing was full of holes even though it looked closed at a glance. I like this one better because it has more texture, but I can't do bucket painting. To apply a solid color, I had to manually fill in the paint. Or trace the line drawing again, enclose it by color, and fill it in. With a new line drawing, these tasks are entirely eliminated.
In short, draw a line drawing carefuly to use the bucket tool, but we have a few ideas for that purpose.
Brushes that are easy to see that the line is closed
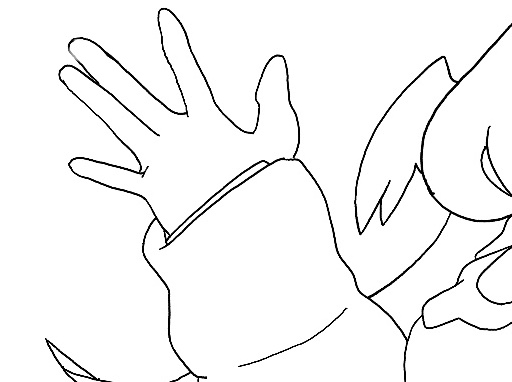
Draw lines with a brush that has ballpoint pen-like parameters. Prepare brushes that are opaque all the time regardless of pressure and whose minimum size is not too small. It is easy to visualize that the lines are in contact with each other where the holes should be plugged.
With this brush, the texture is less intense than before. But the efficiency of the finish is worth the trade-off in texture. When I did this animation before, I went through the great trouble of manually brush painting 10 frames of coloring. What I learned from this experience is that giving up is also crucial.
Once you have mastered line drawing that closes properly, you can gradually return to quality drawing. Eventually, it should be possible to achieve both quality and speed.
Drawing order to enclose each part
In order to ensure the closure, the order in which the line drawings are drawn has been changed to surround each part. Previously, the order was from the overall large silhouette to the details. The order was changed to prioritize the separation of parts to prevent leakage.
Line drawing only on the outline of the part
It is tempting to draw wrinkles, hair flow, and other lines in the line drawing that are not partitions. But I end up drawing shadows there in this next coloring, so I'll hold off. Leave such lines in the rough or other preliminary stages of line drawing, and trace them out by displaying them thinly when coloring in.
Other shortening techniques
I have changed the way I draw line drawings to get the benefit of this. And there are other things I do to draw quickly besides this.
Subdivision of the process to reduce the burden of thought
After the rough sketch is drawn, I draw a "almost line drawing" before starting the actual line drawing. The "Almost Line Drawing" is not a clean line drawing. forget about cleaning up pop-outs and eraser shavings, it's more and more scraping from a rough sketch.The procedure is as shown in this chart.
(Former procedure)
Rough sketch → more detailed sketch → line drawing
(New procedure)
Rough sketch → more detailed sketch → almost line drawing → line drawing
In the previous procedure, when drawing a line drawing, you had to do several requirements at once.
(1) While picking out the shape from the rough sketch that has been drawn.
(2) And make it neatly to clean line drawing.
(3) Clean up the intersections with an eraser.
This makes the line drawing stage a heavy burden. In contrast to the difficulty of trying to do many things at once, we do about half of (1) and (2) in "almost line drawing," and then do the other half in line drawing. Although the number of man-hours increases, the burden on each side is reduced and the work can proceed smoothly.

Shadows are collectively multiplied, except for skin
The shadow of the person is drawn on a single layer. Create a shadow layer on top of all the color layers and set the Composite mode to Multiply. Temporarily place a color there, and manipulate the volume of hue and lightness to create a shadow color that will fit in with the scene. Once the color is created, set the color to standard composite and then pool the color to the top standard layer using an eyedropper tool.

Then you can place one shadow after another across the layers of each color. If you want a different color or a darker or lighter color, create a shadow color each time. Even so, it should not take that many colors to paint all the shadows. Compared to creating a composite layer for each of the color-coded layers, switching between layers can be omitted, which increases efficiency.
Skin is treated specially as an important part. Skin is a mixture of reddish, bluish, and greenish (yellowish) tones, so it is better to use the standard composite mode and layer transparently instead of using multiply. Adding layers sparingly and rapidly will allow you to make adjustments. In addition to skin, hair and other parts should also be treated flexibly and specially depending on their priority.
Fast is good, but I still don't want to give up quality.
These are my current efforts to paint quickly. If I can finish a picture faster, I can paint more pictures, and I don't have to worry about getting bored, which is all good things. However, I paid for quality in exchange for this increase in speed. I do not intend to continue this way of painting forever. I hope to combine quality and speed in the future. Procreate may be too minimalistic for my purposes, and I need to explore alternative tools.
KuniKuni
Subscribe
I send out a newsletter with a few paragraphs reflecting on past paintings. It is sent out about once a week. I also send updates of my paintings. Please take a look at the back numbers. You can also find more information here.